Updating Cura Slicer is not a routine technical task. It is a gentle reset for your three dimensional printing experience. Many creators hold on to older versions because everything feels familiar, but over time small issues begin to grow. Prints take longer to slice, profiles feel outdated, and new printers or filaments do not integrate smoothly. An update brings comfort, clarity, and a sense of freshness.
This guide walks you through each step in a way that feels natural and reassuring. You will learn not only how to update Cura Slicer but also how to protect your settings, explore new features, and handle unexpected issues without stress.
Steps to Update Cura Slicer:
The process of updating Cura Slicer becomes easier once you understand the flow. Before jumping into installation, you need a clear look at what you are updating from and what improvements you are stepping into.
A calm and prepared approach saves both time and frustration. Below are soft reminders that help you update without worry:
- Check your current version inside the application.
- Look for known issues that the new update fixes.
- Read the release notes so you know what has changed.
- Confirm that your operating system supports the latest build.
- Ensure your printing projects are saved before updating.
- Close Cura completely before starting the update process.
- Back up custom profiles and machine settings for safety.
- Disconnect printers or connected devices to avoid interruption.
How To Download The Latest Cura Slicer?
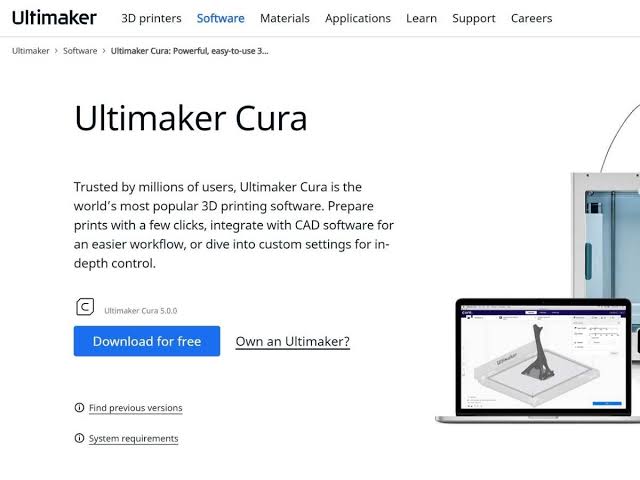
Downloading the latest version of Cura Slicer begins with choosing the right source. Many users unknowingly download outdated installers from random websites, which can cause compatibility problems. The official developer site is the safest place and always has the newest stable release.
Once you reach the download page, you will find clear options for different operating systems. Selecting the right file ensures a smooth installation.
Here are helpful things to check during the download process:
- Choose the installer based on your system such as Windows, Mac or Linux.
- Read the version history to understand improvements and fixes.
- Check if any plugins you rely on need updates too.
- Make sure you have adequate space on your device for installation.
- Keep your internet connection stable to avoid corrupted downloads.
Downloading with care lays the foundation for a smooth upgrade experience.
Steps To Install The Update Cura Slicer Without Losing Your Settings:
Installation is the stage where people feel the most tension because they worry about losing their carefully tuned profiles. Cura Slicer usually preserves user settings automatically, but taking precautions gives peace of mind.
When you run the installer, it will detect your existing version and guide you through the process step by step. A few points help protect your settings while updating:
- Export all your custom profiles using the built in profile manager.
- Save your material settings separately so you can restore them quickly.
- Keep only one instance of Cura Slicer open during installation.
- Restart your computer after installation so the system refreshes properly.
- Test slice a small model to ensure everything works as expected.
- Taking these steps allows you to install confidently without losing any important configuration.
Explore The New Features After Installing The Update Of Cura Slicer:
Once the update completes, the first instinct is usually to jump straight into printing. But taking a moment to explore the new interface and fresh features often reveals improvements that can make your entire workflow smoother.
Some areas worth exploring include:
- Improved user interface panels that organize options better.
- New machine definitions for recently released printers.
- Enhanced slicing engines that reduce overall slicing time.
- Better infill and support algorithms that improve print success.
- Updated material compatibility profiles for more accurate settings
Exploring new features gives you a sense of growth and renewed excitement in your printing space.
Most updates introduce better supports, faster slicing, updated material profiles, or new preview tools. Moving through these changes helps you understand how the software has evolved and how it can enhance your future prints.
Troubleshooting Problems After Updating Cura:
Every software update has a learning curve. Sometimes old configuration files clash with the new version or plugins stop working until they are refreshed. Instead of panicking, understanding these issues helps you fix them calmly.
Common post update problems include lag, missing profiles, plugin errors or interface glitches. These are normal and can be corrected with simple actions.
Here are quick solutions to restore stability:
- Restart Cura Slicer to reload all core files.
- Remove outdated plugins and reinstall newer versions.
- Reset Cura Slicer settings to default if the interface becomes unstable.
- Clear the application cache to remove conflicting old data.
- If the problem persists, reinstall the update completely.
- Giving yourself space to troubleshoot keeps the experience calm and manageable.
Old Configuration Files For Better Performance:
Older configuration files sometimes slow down the new version of Cura Slicer. These files may come from months of usage, experiments, or previous installations. Cleaning them creates a fresh environment for the updated version.
You can delete configuration folders manually or reset Cura from within the settings panel. This removes clutter and improves startup speed. Keep a backup of important profiles before cleaning.
Clean only after installing and testing the new version. Remove unused printers and profiles that you no longer rely on. Cleaning helps the software breathe better and respond more smoothly to slicing tasks.
Plugin Compatibility With The New Cura Version:
Plugins play a big role in how comfortable Cura Slicer feels. After an update, some plugins may become outdated or incompatible. This might cause Cura to freeze, lag or behave in unexpected ways
Checking compatibility is easy and prevents unnecessary frustration. Most plugin developers update their tools shortly after a new release, so you can simply download the latest version.
Things to check:
- Visit the plugin marketplace for updated versions.
- Remove plugins that you no longer use.
- Test each plugin individually to identify problematic ones.
- Keep the essential plugins clean and updated for stability
This step ensures your updated Cura works without interruptions.
Conclusion:
Updating Cura Slicer is not just a software task. It is a gentle upgrade to your creativity. Each new version brings clarity, stability and efficiency that influence how confidently your models come to life. When you update carefully and spend time exploring new features, you create a smoother journey for every print that comes after. With preparation, patience and a little curiosity, Cura Slicer continues to evolve alongside your imagination.
Frequently Asked Questions:
No, your profiles usually stay safe, but backing them up is a smart habit.
Updating every few months keeps the slicer stable and current.
Yes, older versions remain available on the official download page.
Outdated plugins or old configuration files may cause slowdowns.
Often yes. New algorithms, profiles and interface features contribute to better prints.